Agent Configuration
Agent Onboarding Wizard
Agent onboarding is a three-step procedure that allows to create and/or edit Agent entities/users. The procedure consists of the following steps:
- General
- Billing
- Payouts
Press the Save & Continue button to save settings at the current step and proceed to the next step.
Press the Back button to return to the previous step without saving settings at the current step.
Press the Cancel button to abort onboarding without saving.
Press the Submit button to save all settings and complete the onboarding procedure.
Let us configure an Agent!
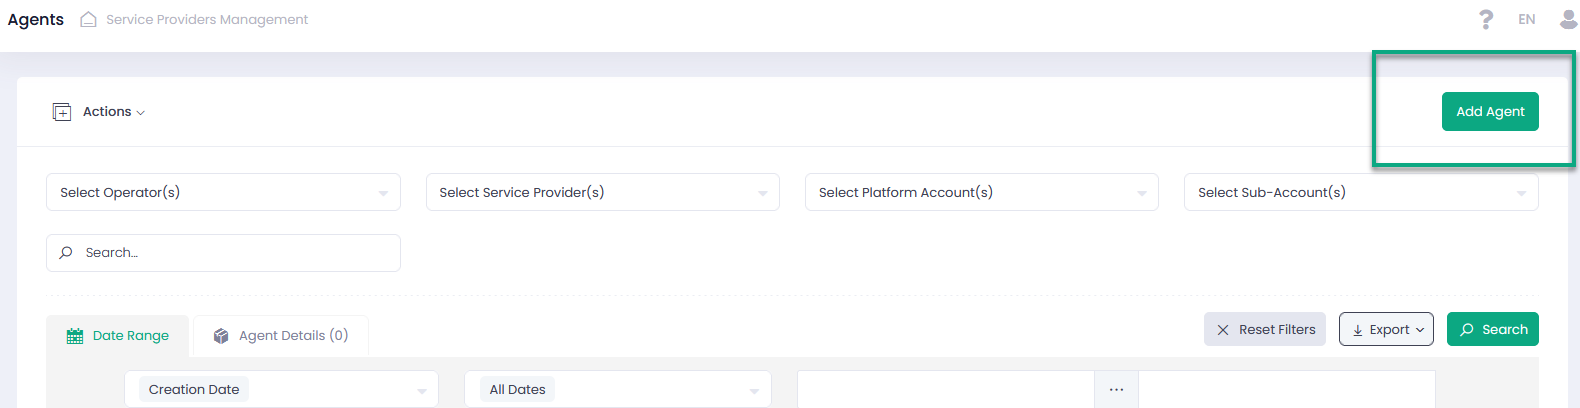
- Go to the Agents section
- Click ‘Add Agent’
- Follow the three-step Agent Onboarding Wizard to create a new Agent
OR
- Select at least one Agent
- Select ‘Add/Edit Agent’ in the Actions pop-up options list
- Follow the three-step Agent Onboarding Wizard to add/edit a new Agent
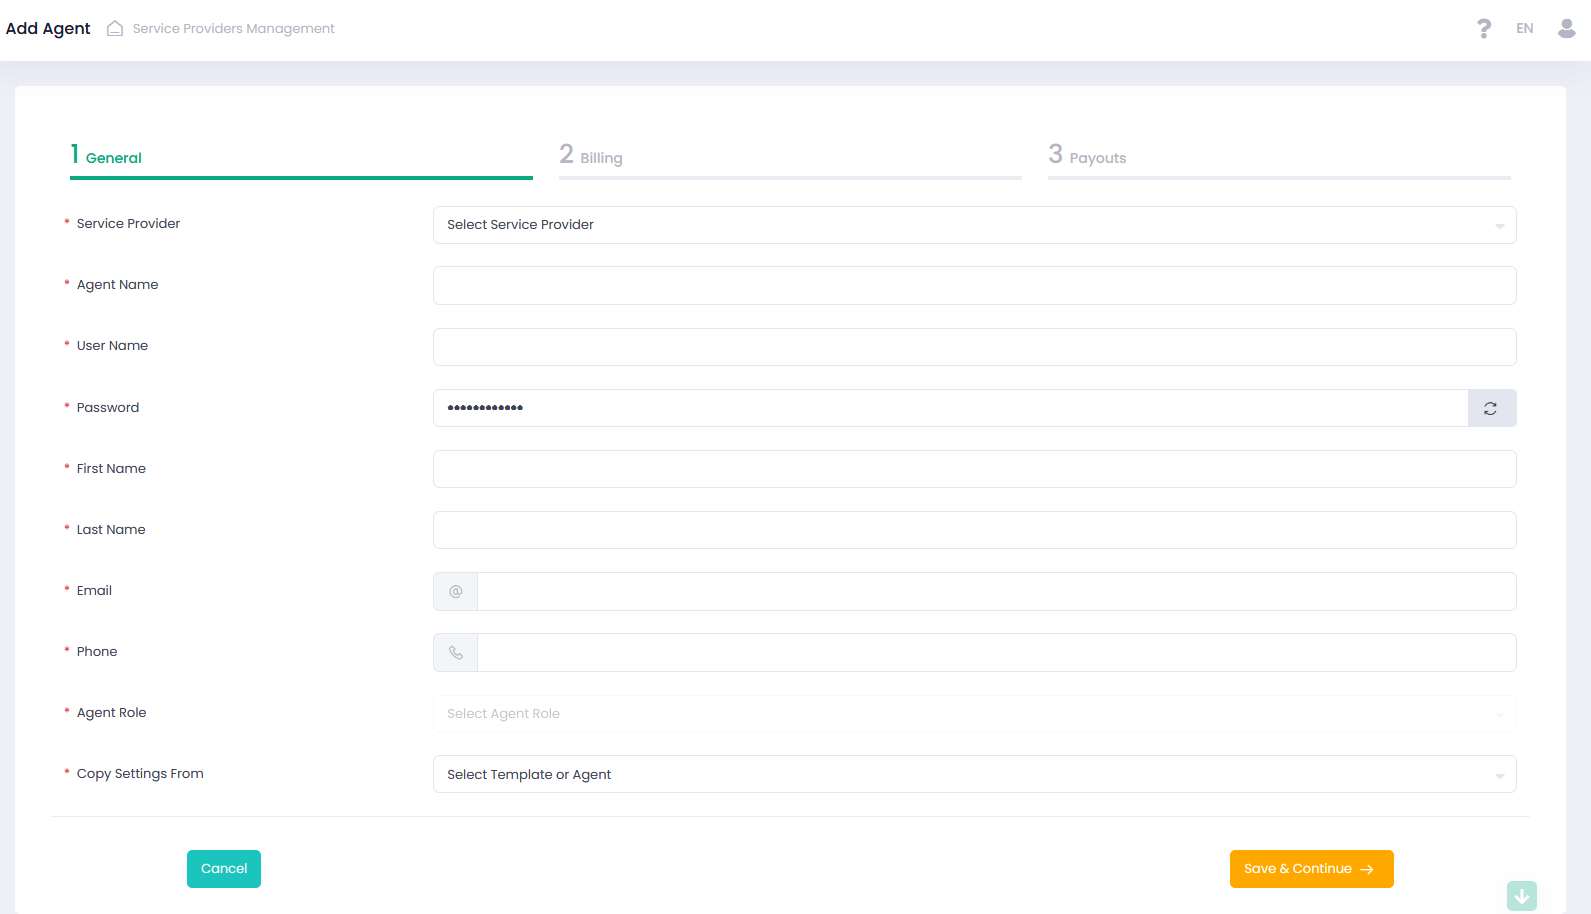
Please set basic information, contact details, and optional parent entity for an Agent. The below form applies for both Add and Edit operations, except for the Copy Settings From parameter (enabled for the Add Agent form only).
| Name | Description | Optionality |
| Service Provider | Select a corresponding Service Provider from the dropdown list. Agents are created for a specific existing Service Provider | Required |
| Agent Name | Your Agent Name to be displayed in the system | Required |
| User Name | Your agent User Username | Required |
| Password | Your Agent User Password | Required |
| First Name | Your Agent User First Name | Required |
| Last Name | Your Agent user Last Name | Required |
| Agent contact Email Address | Required | |
| Phone | Agent contact Phone Number | Required |
| Agent Role | Select a role for the Agent User. Available options depend on the selected Service Provider | Required |
| Platform Accounts | Select accounts your Agent will have access to. Select All to give access to all the available accounts. Available options depend on the selected Service Provider | Required |
| Sub-Accounts | You can give access to more than one Sub-Account under different accounts in case you have selected more than one account in the previous step. Select All to give access to all the available Sub-Accounts. Available options depend on the selected Service Provider and account(s) | Required |
| Copy Settings From | Select source Agent to copy configuration settings to a new target Agent. Select None to disable all templates. Enabled for Add Agent form only | Optional |
| Two-Factor Authentication | Mark this box if you require two-step verification to be applied. Enabled in case External Agent, Platform Agent, Service Provider Agent are set as Agent Role | Optional |
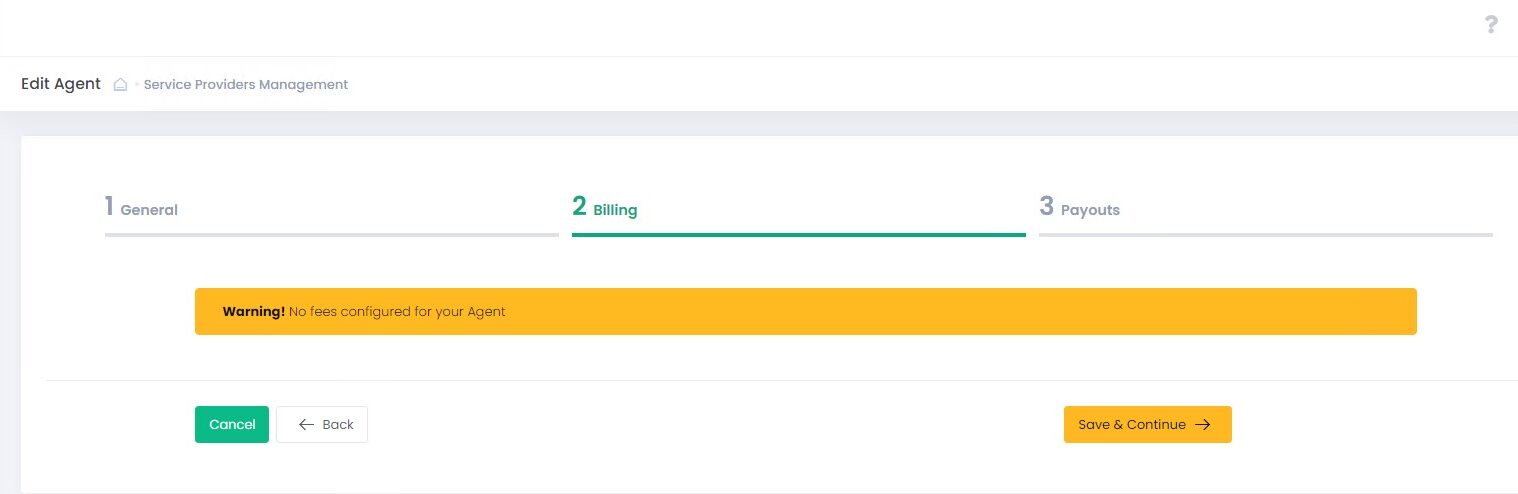
Use Billing Onboarding section to enable and configure Agent entity fees. This step is Optional, Save and Continue to skip and proceed to the next step. In case there are no fees configured for a particular Agent, you will see a notice: Warning! No fees configured for your Agent. In the main grid expand Agent Details to view all Billing settings of the selected Agent entity.
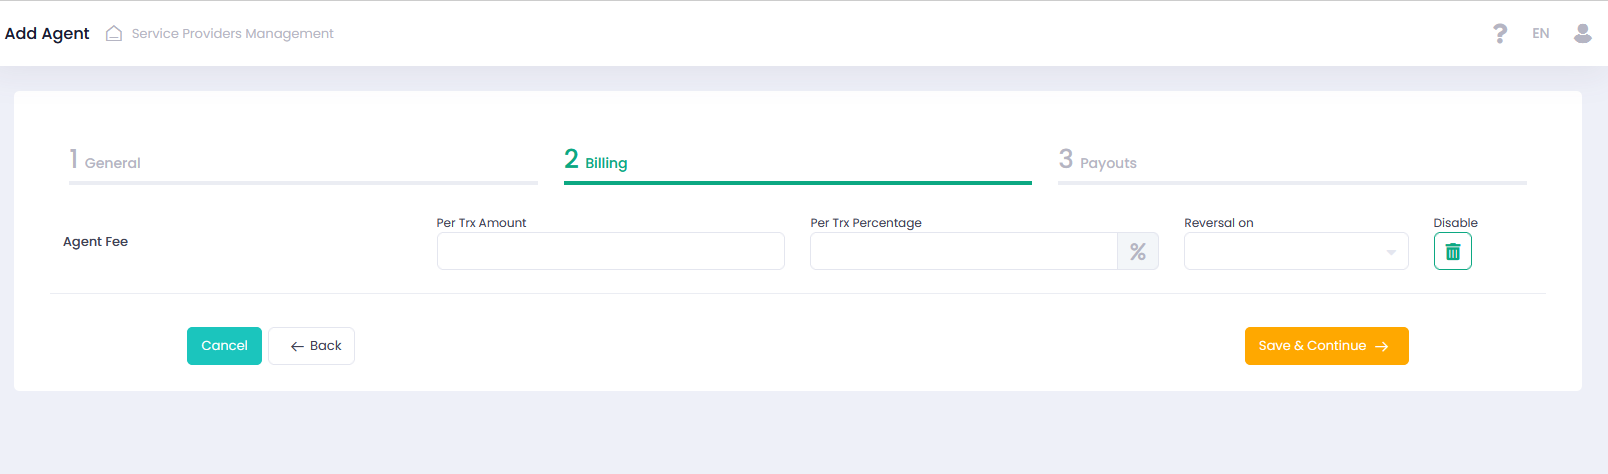
If you want to apply a fee with Fee Source = Agent preconfigured at the Service Provider level:
- press the Enable button
- specify amount and/or percentage of the fee
- select type or types of transactions on which reversal is required.
If you want to disable such fee, press the Disable button.
Use Payouts Onboarding section to create and configure Regular and Negative Payouts Instructions for Agents. A specific payout instruction can be created for each of the system currencies. Payouts is an optional step where you can configure your Agent payout instructions.
Payout Configuration Details Explained
The Payout section is split into two sections:
- Payout Configuration
- New Payout
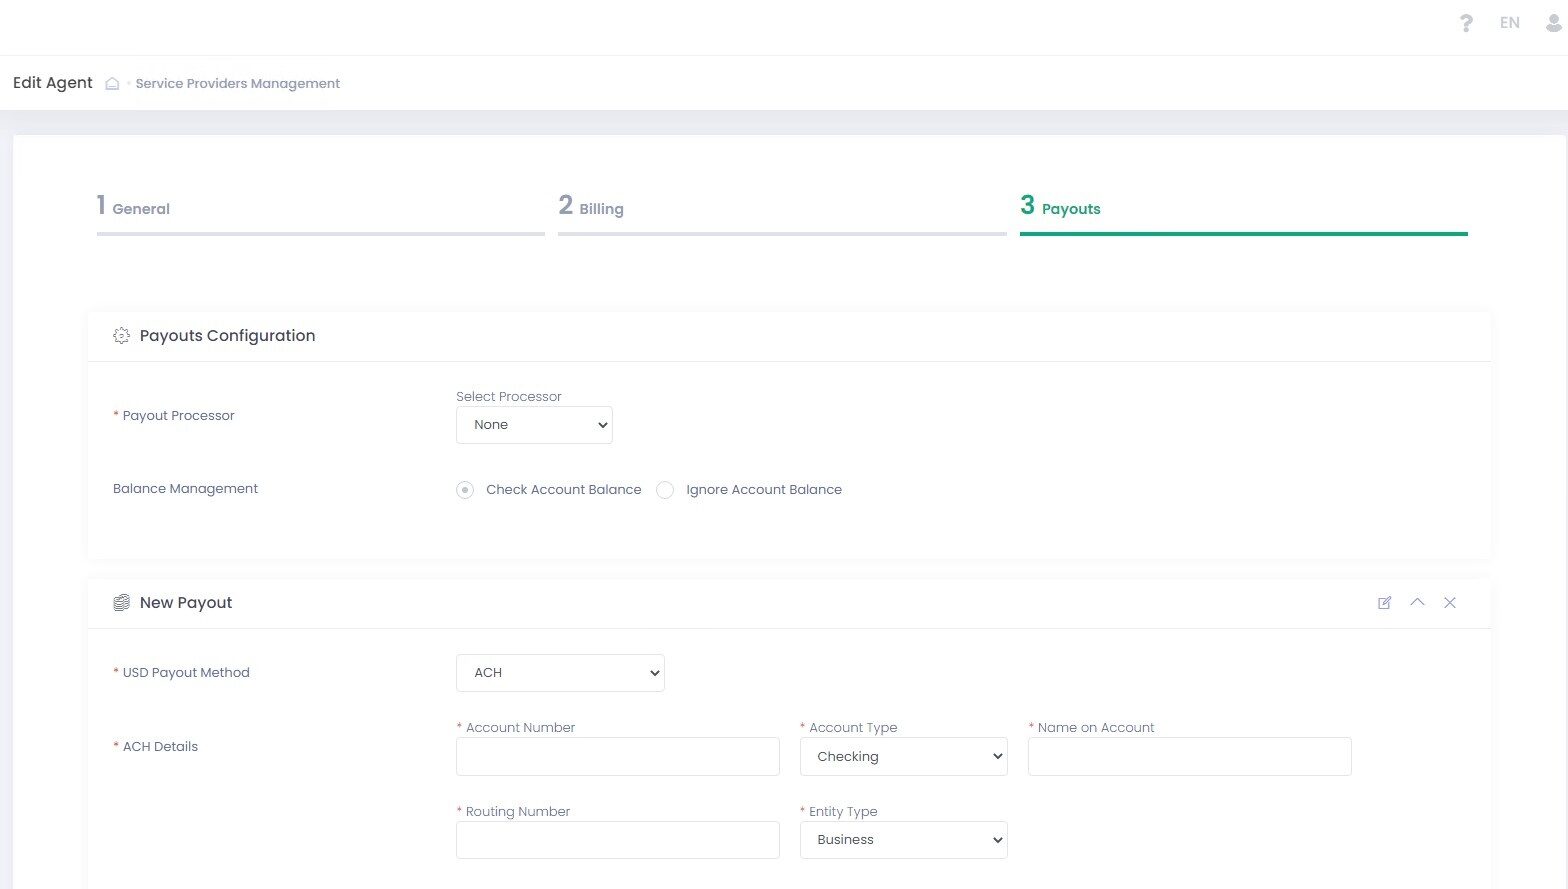
PAYOUT CONFIGURATION
Configure manual and automated payout options, payout processor, and payout processor parameters. Use Balance management to configure Negative Payouts.
Payouts Configuration Details
| Name | Description |
| Payout Processor | Select a Payout processor from the drop-down list or select None to enable manual payouts. Available options are based on the selected Service Provider. External payouts processor is disabled if manual payout (None) option is selected. Manual payouts are manually approved in the Back-Office Payouts report |
| Balance Management | Balance Management allows configuring payout actions based on the balance value |
| Check Account Balance | Select to enable account balance check prior to the payout. In case enabled, negative payouts are disabled |
| Ignore Account Balance | Select to ignore account balance value for processing payouts. Required to enable negative payouts |
| Perform Negative Payout (Withdrawal) if Account Balance is Negative | In case selected together with Ignore Account Balance and the returned account balance calculated amount is negative – negative payout transaction is processed |
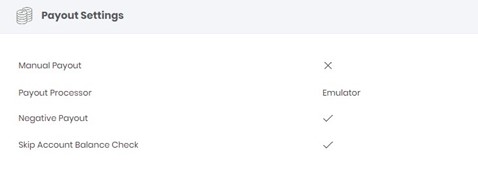
In case Negative Payouts are enabled for an Agent, it will be displayed in the Confirmation Onboarding step in the Payout Settings tab.
NEW PAYOUT CONFIGURATION
PAYOUT (ACH BANK) DETAILS
It is possible to create one payout configuration per currency type.
Available Actions:
| Add Payout: use to add an additional payout |
| Edit Payout Method Name: use to edit an existing payout name |
| Hide/Show: use to hide/show a payout configuration |
| Remove: use to delete a payout configuration |
| Name | Description |
| Payment Method | Select a Payment Method for the payout from the drop-down list |
| ACH Details All fields are required. Displayed in case ACH is selected |
|
PAYOUT SCHEDULER
The Payout Scheduler enables you to configure the Time Schedule for Payouts you want to apply to your Agent.
| Name | Description |
| Payout Scheduler Automated Payout Interval Options |
|
| Payout Scheduler Automated Payout Expiration Options |
|
PAYOUT AND RESERVE MANAGEMENT
You can preset payout amount calculation mode and time range to create a rolling reserve according to your risk management policy. There are 4 Payout Types you can choose from:
- Fixed — Set a fixed payout amount
- Percentage — Rolling Reserve Payout amount is calculated as a percentage from the Account Balance
- Past Date — The payout amount is calculated as an Account Balance on a specific date, considering the preset reserve capacity
- Past Interval — Payout amount is calculated from the total amount of daily settlements, incoming fees, adjustments, reserve balance release, on-demand payouts, and cancelled payouts transactions for the specified time range
CONFIGURING TWO-STEP APPROVAL FOR PAYOUTS
Enable Two-step approval to have an option to manually approve or decline suspicious payout transactions.
| Name | Description |
| Two-Step approval (semi-automated payout) | Select to enable an additional manual payout confirmation via the Back-Office. Use to add a manual payout approval for automated payouts processed with an external processor or to add an additional manual approval for manual payouts. |